
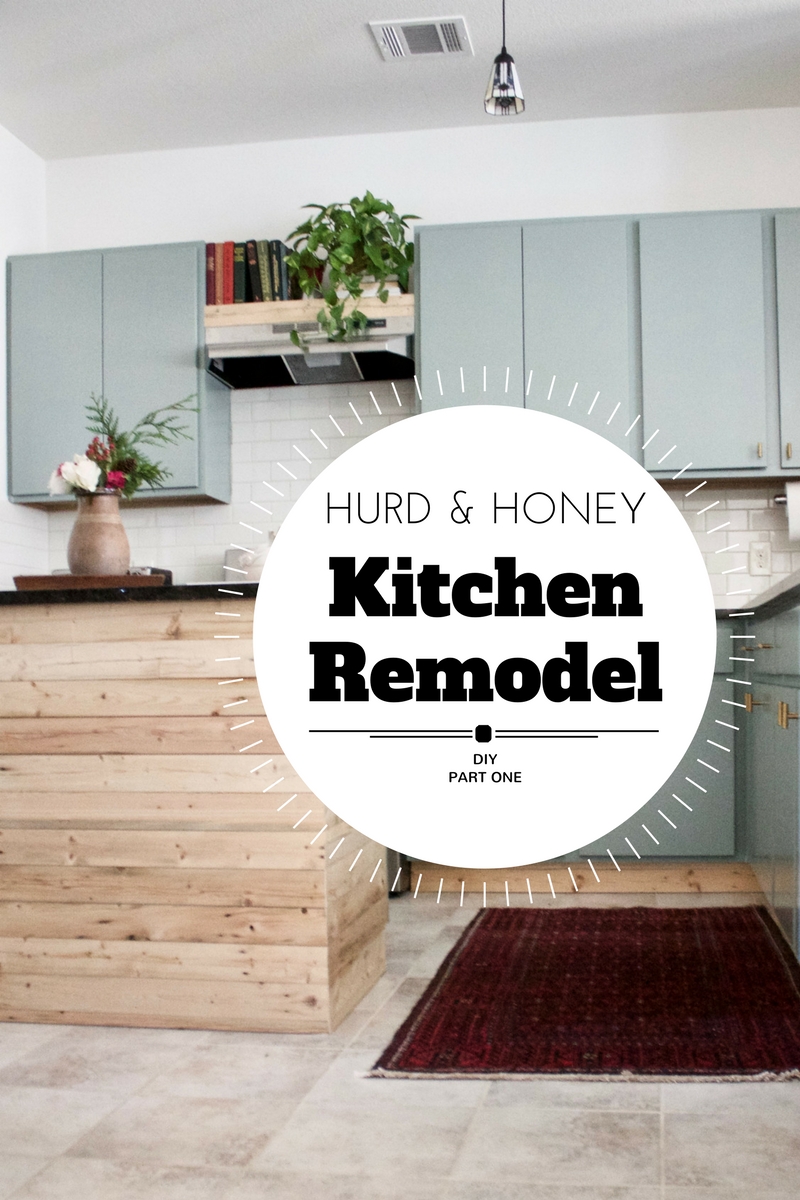
A New Kitchen for Hurd & Honey
The kitchen is the most important space in a home, it is where the meals are made and then shared with family and friends. In kitchens loved ones stand around and sip coffee or munch on snacks. In kitchens babies try their first foods, and the droppings plop down on the floor for the family pets to clean up. We spend a lot of time in the kitchen, not to mention, the time spent cleaning dishes on a daily basis. The kitchen needs to be a space that you love.
Before we closed on our home we were not in love with our kitchen. The color of the cabinets and the lack of natural light made it feel dim and orange. Because the kitchen lacked light, our pretty backsplash went unnoticed. We chose a dark granite because the other options available weren't ideal, so again, too dark. And the worst part was the builder put in various heights of cabinets, which made the kitchen look even smaller.
We decided we were going to hire someone to come in and paint, and we wanted the cabinets painted white. We sought out various quotes and were ready to get the process started, but at the last minute we decided to take a different approach. White didn't seem best anymore, although it would have looked really nice, but we wanted more color. Our home has a lot of color, and we wanted the kitchen to feel part of the entire living space; we wanted it to transition well. White would have made the space feel isolated from the rest of the colorful living room and dining room. We chose "Nature's Gift" by Behr (Oil Based Semi Gloss) from Home Depot. Once we changed our minds about the color we also decided to tackle the project on our own. We wanted more modern cabinet faces, and knew we could build them custom to suit our space.

A messy before photo of the kitchen. Unfortunately we didn't capture the kitchen entirely in its before state. The microwave was mounted above the stove hiding half of the subway tile. Above the microwave was another cabinet that sat about six inches higher than the other cabinets. We mounted the microwave inside of the island cabinet, and moved the upper cabinet to our master water closet.

There were two more upper cabinets here, one above the coffee maker and one above the fridge. They were the same size, but they weren't mounted at the same height. We moved both of them to the laundry room to store all of our cleaning supplies and finishes for the woodshop.
Day One
Remove cabinets that wouldn't be used and paint/patch walls where needed
Remove upper cabinet doors
Supply shopping

Day Two
Sand, primer, paint (first coat) on upper cabinet face frames and cabinet sides
Rough cut all plywood faces to size for drawers and cabinets


Our new cabinet and drawer faces made from plywood.
Day Three
Sand all lower face frames
Primer and paint all lower face frames
Cut, rout, and sand all new cabinet and drawer faces
Prepare faces for mounting
Apply second coat of paint to uppers


The wood we used is reclaimed, planed, and unfinished. It's the same wood that we use for all of our reclaimed wood products.
Day Four
Paint lower face frames (second coat)
Primer and paint cabinet and drawer faces
Install trim, kickboard, and reclaimed wood accent cabinet siding (all from our reclaimed wood, planed and unfinished)
Every space in our home was used for drying cabinet and drawer faces.
Day Five
Paint (second coat) cabinet and drawer faces

We chose hardware off of Amazon that was considered "cheap" due to how lightweight it is. We figured if it's installed correctly it wouldn't be an issue. Hopefully these brass pull bars will hold up nicely. (Source below)

We ordered the vent hood from Amazon as well. We chose a vent that didn't need to be ducted, and this one comes highly recommended. (Source below)

Almost completed! In this photo we still need to install shelving above the vent hood (and above the coffee bar). Tomorrow we will share a visual tour of the final kitchen remodel including the shelving that we added.
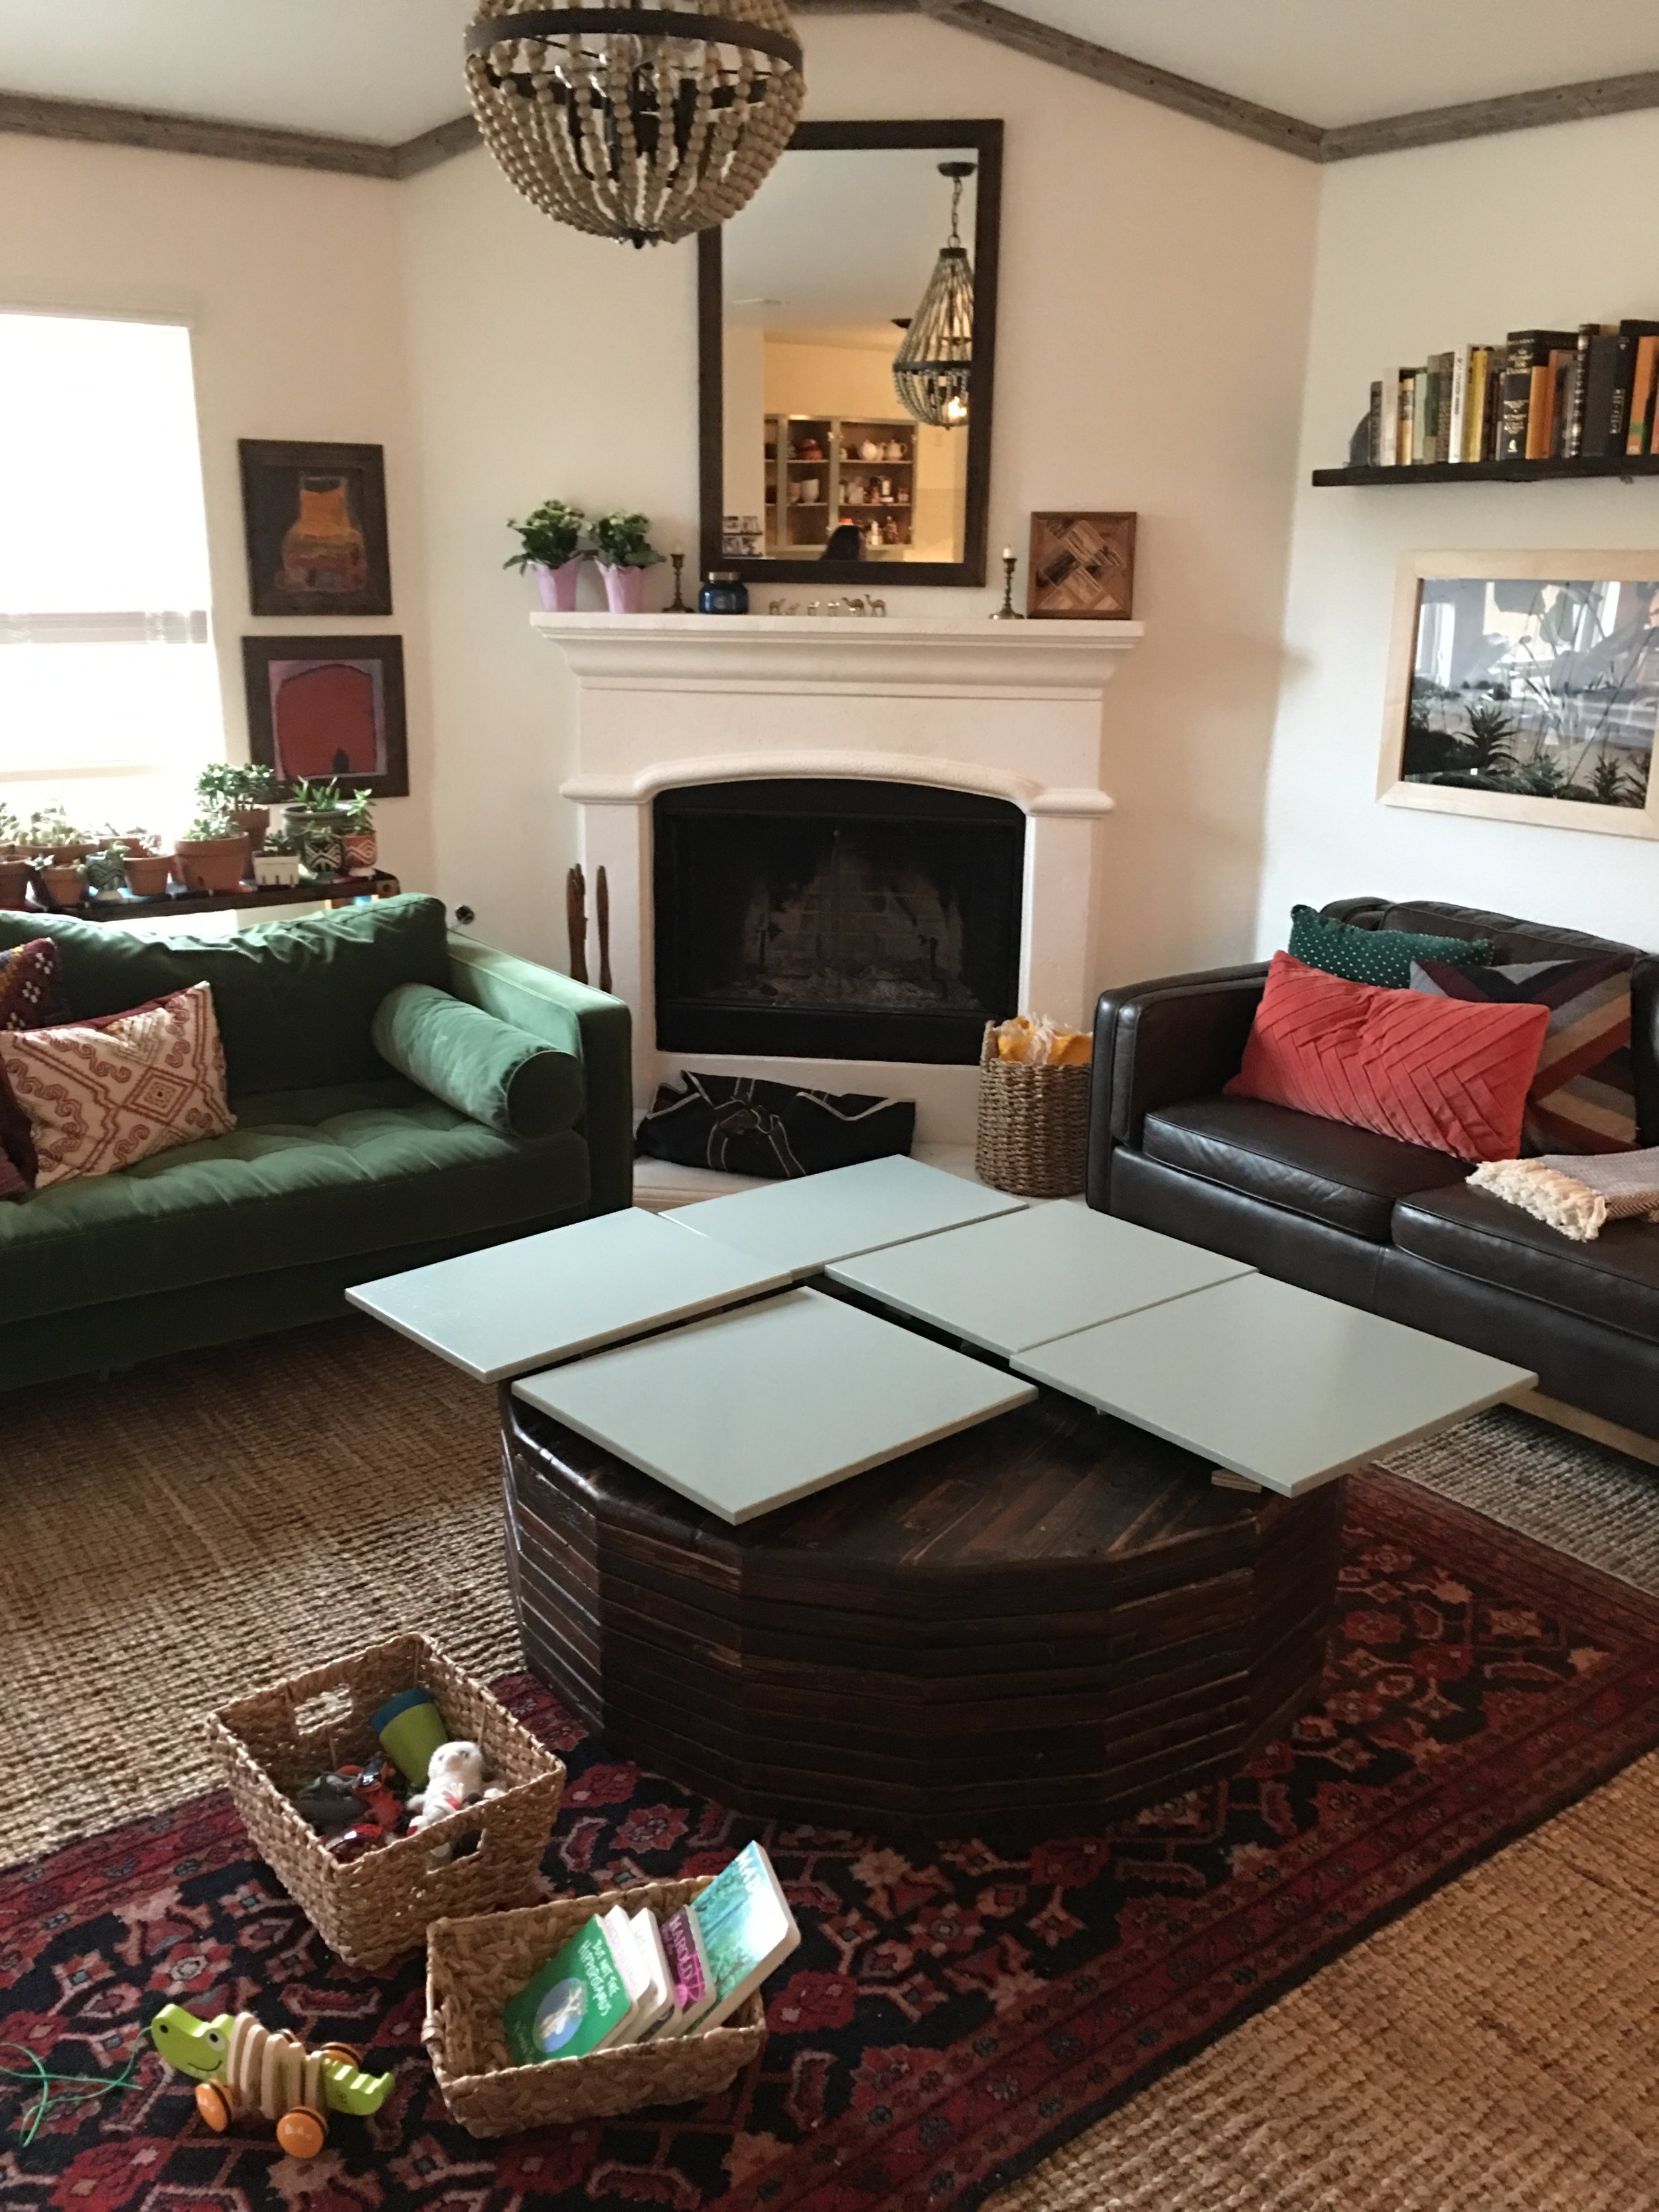
The inspiration behind our kitchen remodel - click below.